
For Noah’s party, I want to make a total of fifty 6” square blocks and twenty-five 12” square blocks. Some of them will be brown brick blocks and some of them will be yellow question mark blocks.
There’s several bloggers online who have made this style of blocks before, but there’s a couple things I’m doing differently. First, most of the examples I’ve seen online are using the blocks as fixed decorations. Either stacking them up in specific places, attaching them to a wall or a stand, or hanging them from the ceiling with fishing line. Often dowel rods are used to hold them together. Since they aren’t being moved around during the party, only the fronts and maybe the tops and bottoms of the blocks need an actual pattern on them. The rest of the sides aren’t ever seen.
For Noah’s party, I want most of the bricks to be props for the activities. I want guests to be able to pick them up and move them around to build different scenes. Because of this, I need to finish all 6 sides of each block.
I am making them 2 different sizes because the party will utilize 2 different scales. One scale will be where the party guests are the “characters”. That’s what the 1 foot tall blocks are for. The other scale will be where Mario figurines and cars are the characters. Even though 6” blocks are still technically too big of a scale for these, going any smaller will make the blocks hard to stack and play with.
The blocks are simple to make. They are just pieces of construction paper glued to plain cardboard boxes. It’s the sheer number of them that makes it tedious.
Planning the blocks required a little math.
15 large brick blocks x 6 sides = 90 large brown sides
30 small brick blocks x 6 sides = 180 small brown sides
10 large question mark blocks x 6 sides = 60 large yellow sides
20 small question mark blocks x 6 sides = 120 small yellow sides
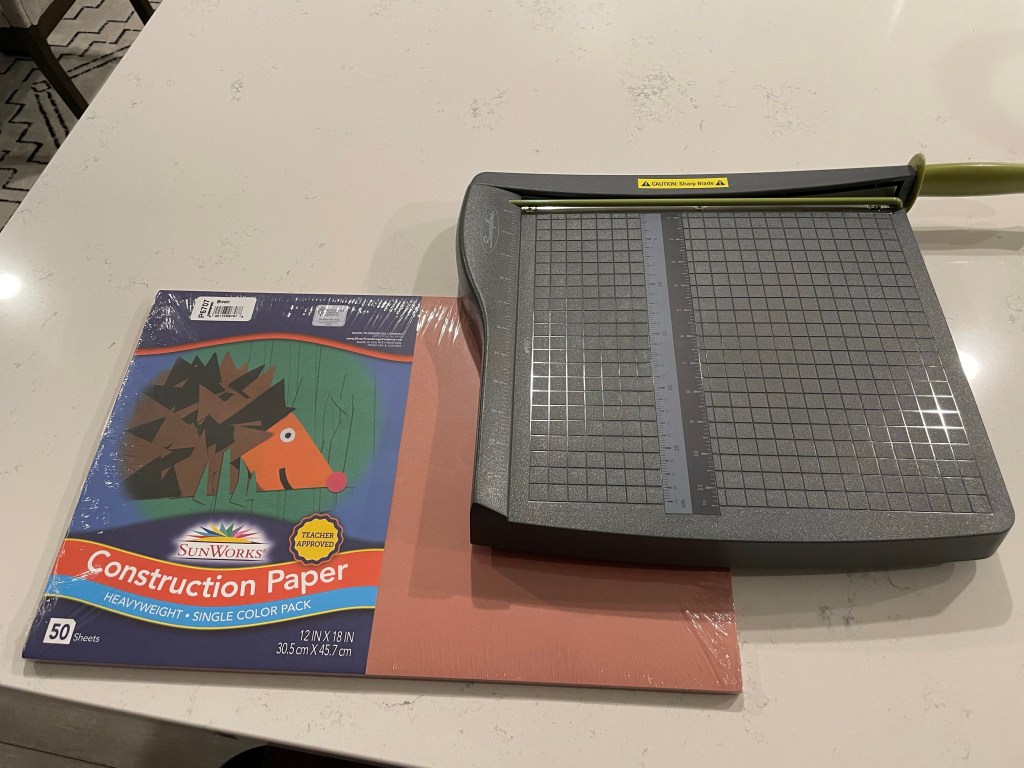
Construction paper generally doesn’t come in 12 x 12 or 6 x 6 sheets, so I bought a couple 50 packs of yellow and a couple 50 packs of brown paper in the 12 x 18 size. And I invested in a paper trimmer from Amazon to cut them to size. Today I decided to focus only on the brown brick blocks.
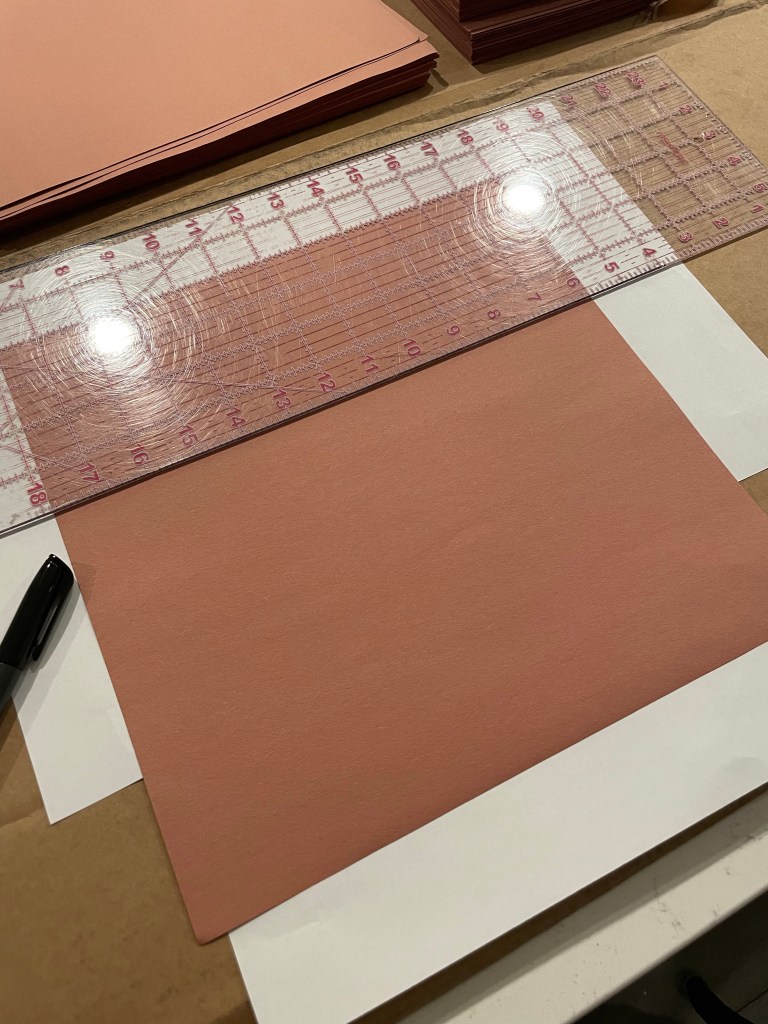
The nice thing about the sizes I’m using, is each sheet of construction paper creates one 12×12 square and two 6×6 squares.

I knew that cutting 90 sheets of construction paper would give me the 90 large sides and the 180 small sides that I needed. Since I started with 100 sheets of paper, I simply took 10 out of the stack and then cut the rest. I timed myself, and it took only 12 minutes to cut all 90 sheets using the new paper trimmer.

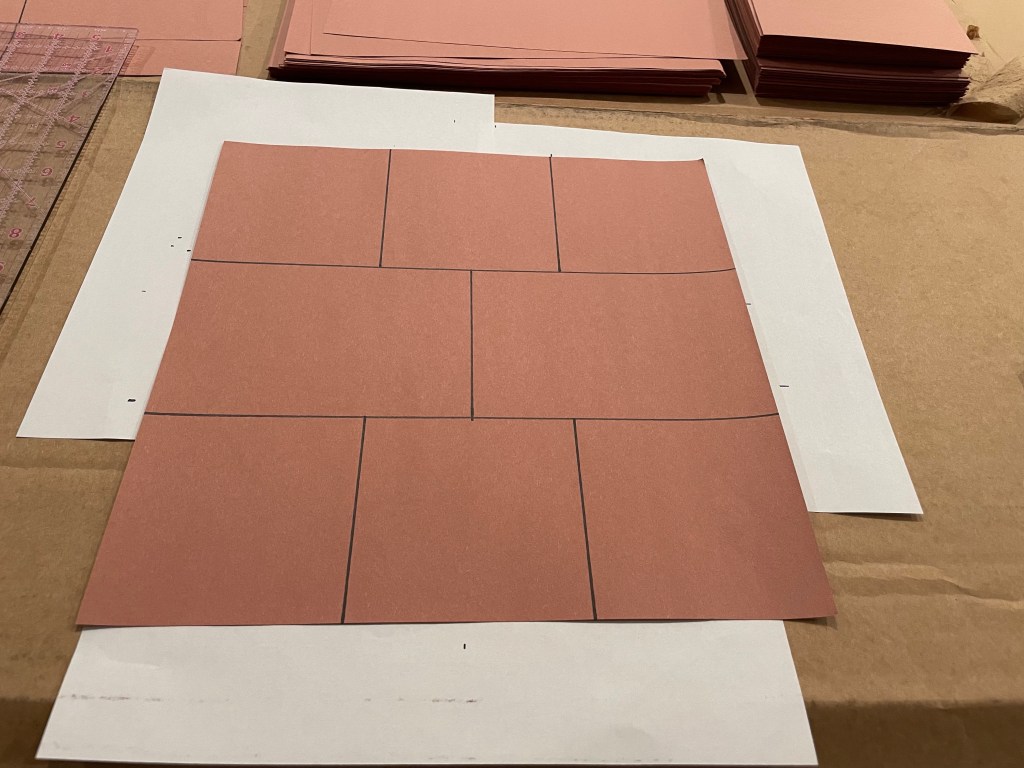
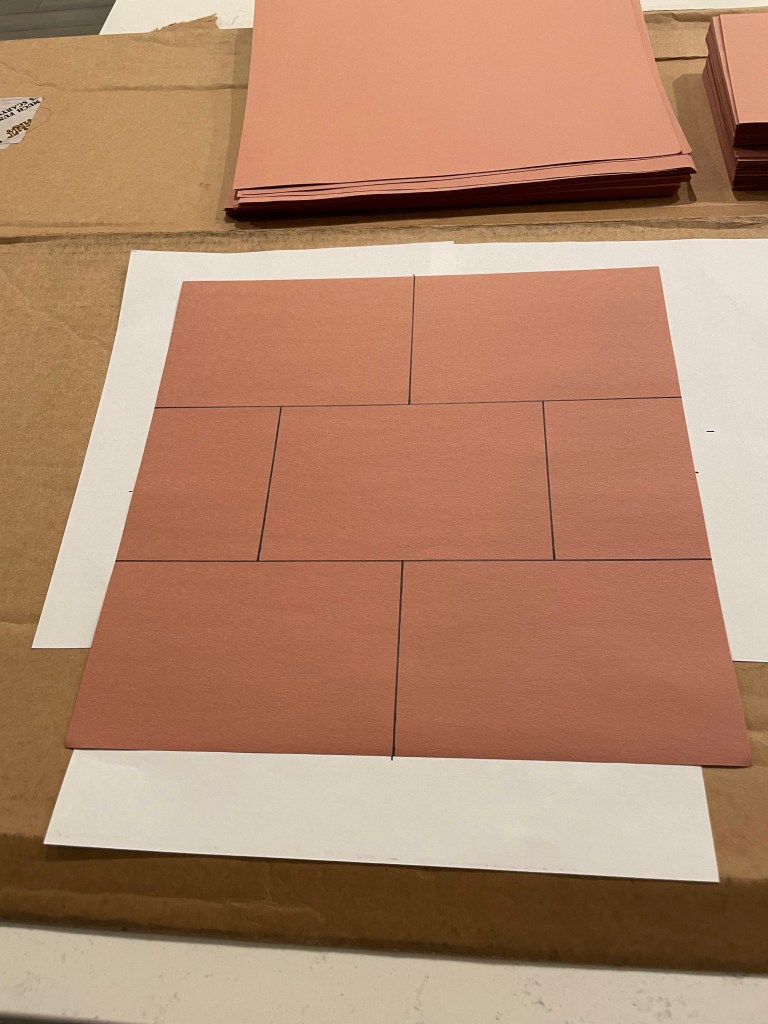
Next I needed to figure out how I was going to draw the lines on the bricks without ruining my white quartz countertops. I know from experience that permanent marker bleeds through paper and onto my counters – eek! (Thankfully I was able to clean up my past mistake with a magic eraser and some hand sanitizer.) Anyway, I took a quick look around the house and decided a scrap cardboard box would work great. The issue is the cardboard matched the color of the construction paper, making it hard to see where to draw the lines. So I threw a couple pieces of printer paper on top of the cardboard so I could see the edges of the paper. I grabbed my clear straight edge and a black marker, and I was ready to go.
I used this image of a Mario brick block to decide how to draw my lines. Every side of the block has 2 horizontal lines that split it into thirds. For the 12” block, that means each third will be 4” tall.
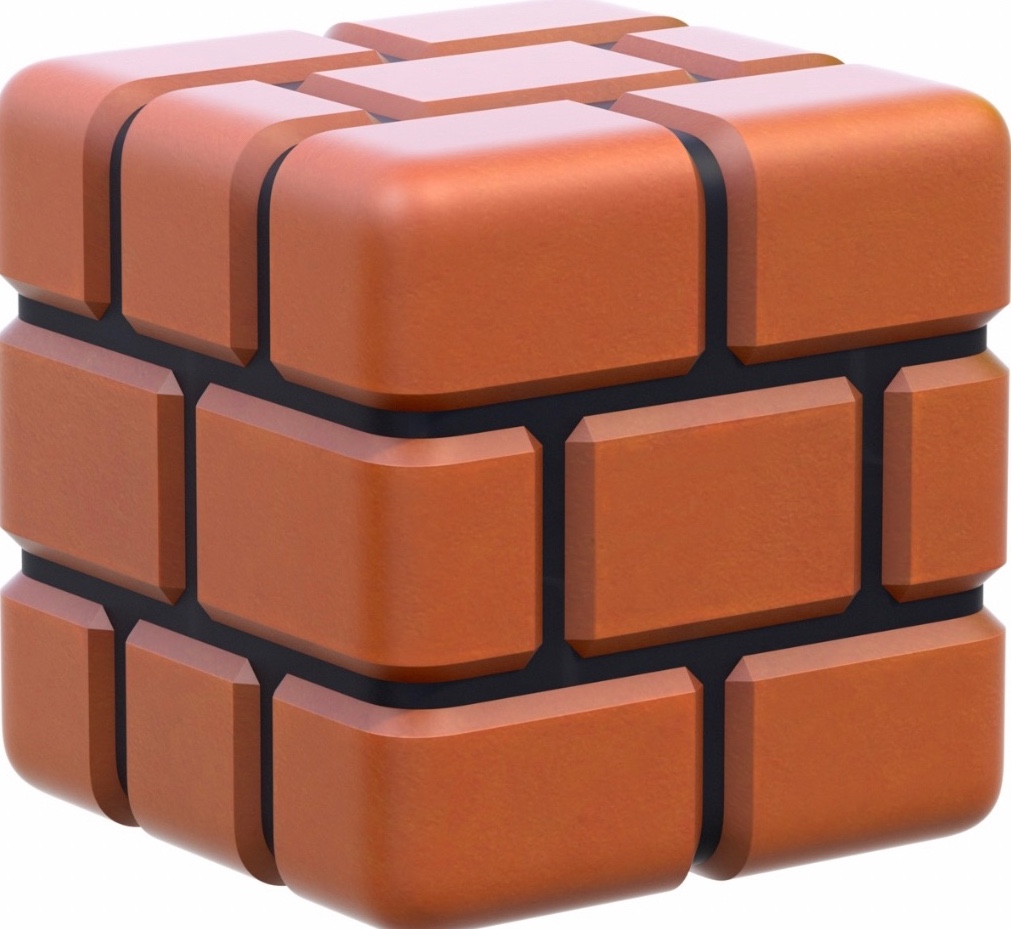
The vertical lines are slightly more challenging. As you can see, the brick block has 4 sides that have one pattern and the other 2 sides on the left and right have a slightly different pattern. The left and right sides are made of a top row of 4” x 4” squares, a center row of 4” x 6” rectangles, and a bottom row of 4” x 4” squares (when using a 12” scale).
The other four sides have a top and bottom row of 4” x 6” rectangles, a 4” x 6” rectangle in the center, and then the leftover pieces on the left and right side of the center rectangle mathematically have to be 3” x 4”. All of this sounds weird in type, but when you actually start drawing it out on the paper it’s pretty obvious and straightforward.
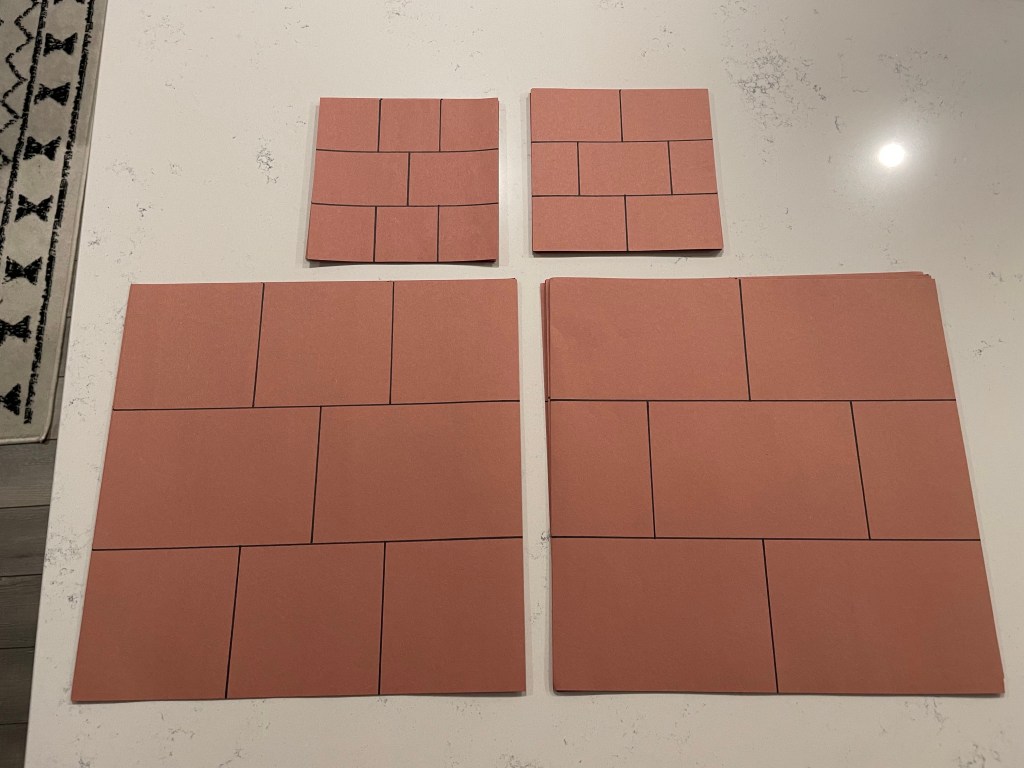
I did some timing with a stop watch and it took an average of 1 minute to draw the lines on each piece of paper. That makes time estimates super easy. Since I’m making a grand total of 270 brown sides, I can expect it to take me 270 minutes (4.5 hours) to draw all the brick lines. Clearly I won’t be doing this all in one sitting. I decided for tonight I would make 12 large sides (2 large bricks worth) and 24 small sides (4 small bricks worth).
The small sides are done exactly like the large sides, except all the dimensions are cut in half. So instead of drawing the horizontal lines at the 4” marks, they are drawn at the 2” marks. The rectangle bricks are 2” x 3” instead of 4” x 6”. And so forth.
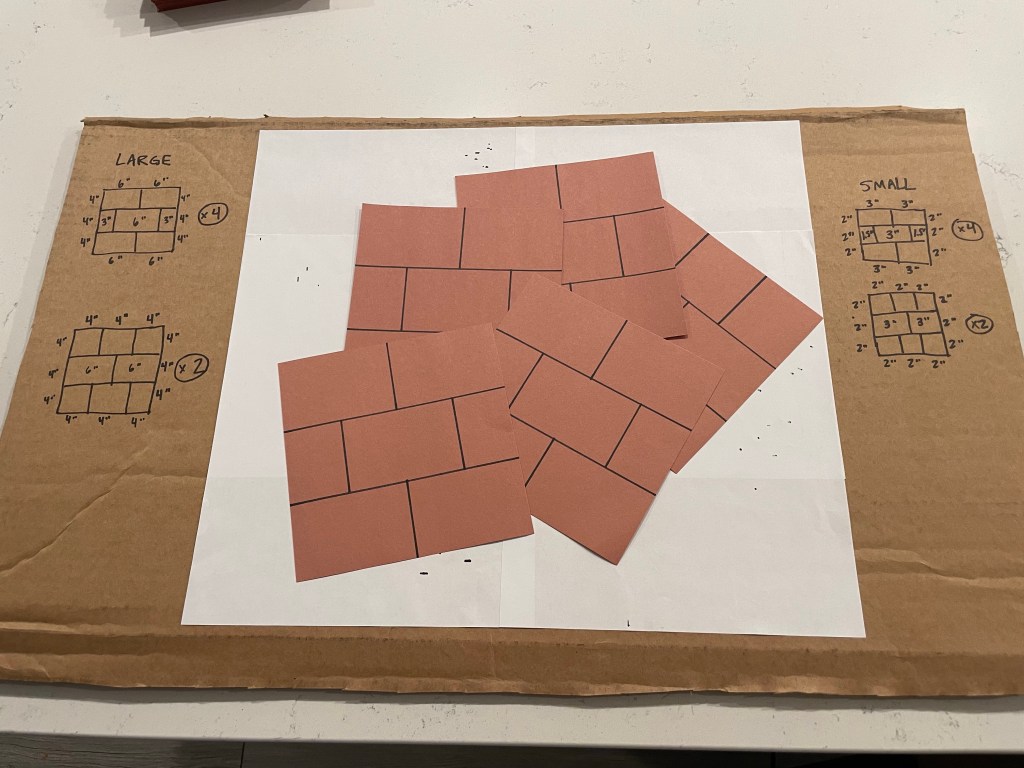
You may notice that my workspace got a little fancier at this point. After making a few bricks, I decided my paper on cardboard setup worked really well. So I ended up gluing 4 pieces of printer paper to the cardboard, and then I cut the cardboard down to size so I could use it over and over. I also put the dimensions of each pattern on the sides so I could reference them quickly.
All in all, it took me about 40 minutes to draw lines on 36 pieces of paper. 36 down, 234 to go!

Note – I am only doing the paper part of this project now. I have no desire to store 75 cardboard blocks in my house for 2 months. Gluing the paper to boxes will happen much later.


Leave a comment