The question mark blocks are the most time-consuming and tedious piece of this whole party. If I were only making a couple of them like most people who throw a Mario party do, it would be no big deal. But since I’m making 30, it’s a major undertaking. Not just that I’m making 30, but that I am crazy enough to insist that an actual question mark be on FOUR sides of each block instead of just one side. That means I need to assemble a total of 120 question mark block faces.
As soon as I did the math and it hit me that I would need to cut out 120 question marks, I very quickly decided to make a big investment. I went straight to Target and bought a Cricut. Prior to purchasing the Cricut, I had never researched what Cricuts actually do or how to use one, but I did know it would cut things out for me and that’s all that mattered.
I normally don’t invest in a $200 piece of equipment for a party, but this is honestly an investment I have put off for way too long considering the huge volume of crafting I do on an almost daily basis. Anyone who doesn’t have a Cricut and doesn’t want to purchase one should definitely not attempt to make this volume of Mario blocks LOL.
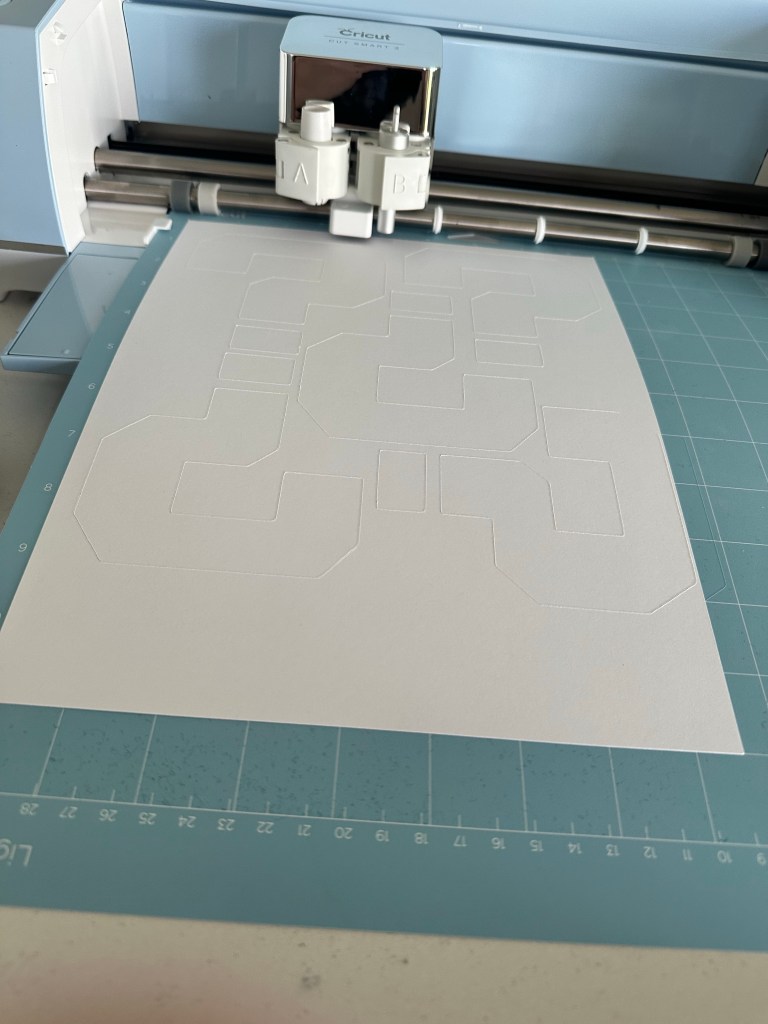
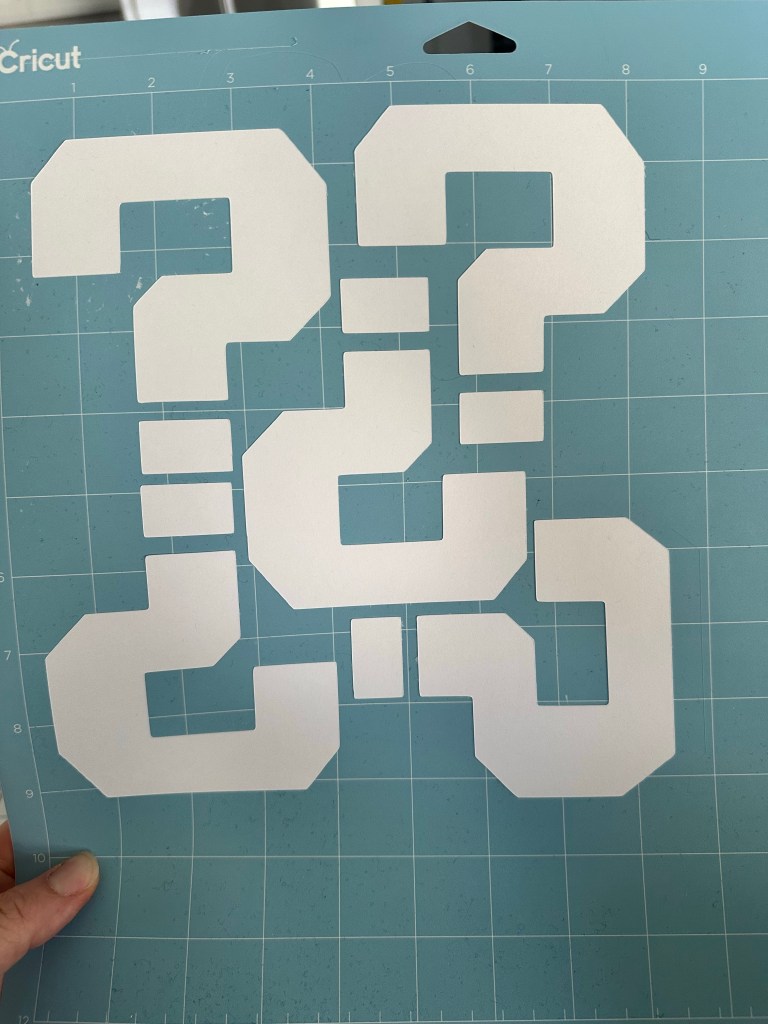
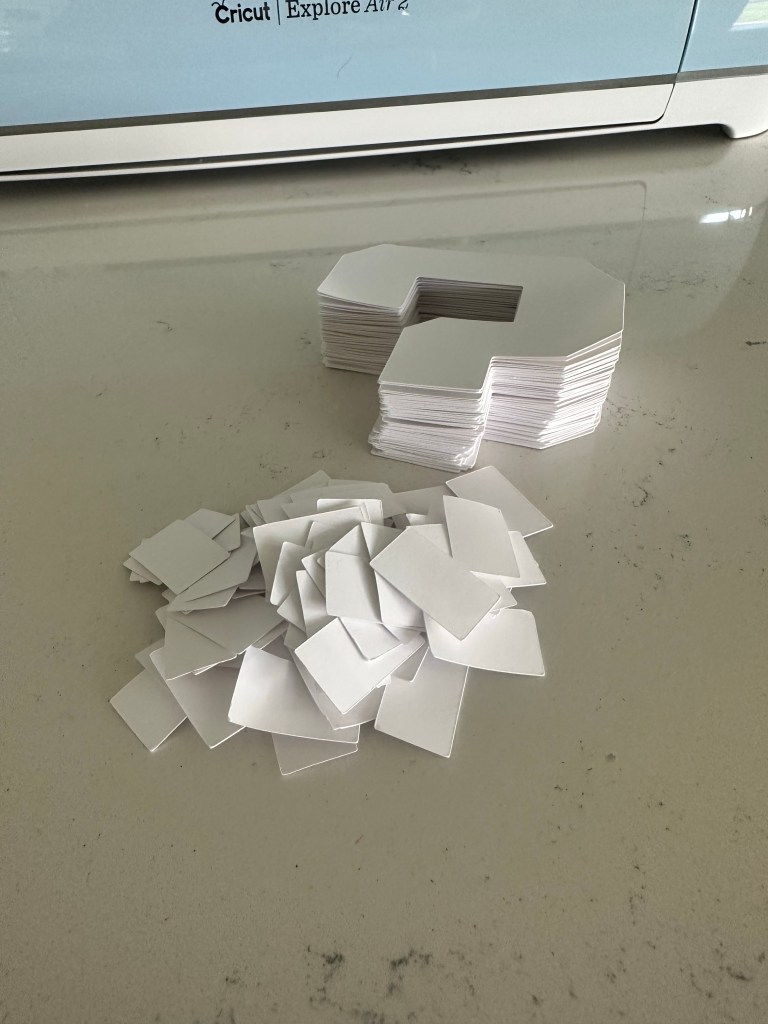
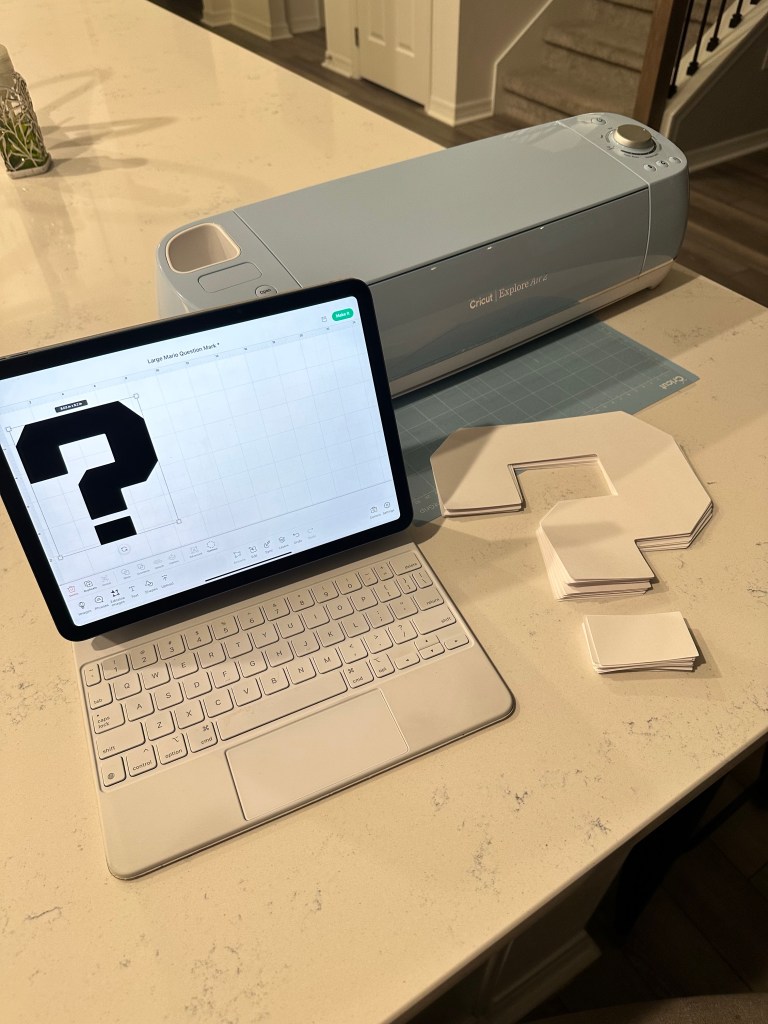
Having no idea how to use a Cricut, I dove right in and figured it out in about 23 seconds. It’s easy as can be. I saved a question mark image I found in Google images and used that for the cutting template. For the 6” question marks, I was able to fit 5 on a single piece of paper, which meant the Cricut could cut 5 at a time. 16 sheets of white card stock x 5 question marks per sheet gave me the 80 I needed.
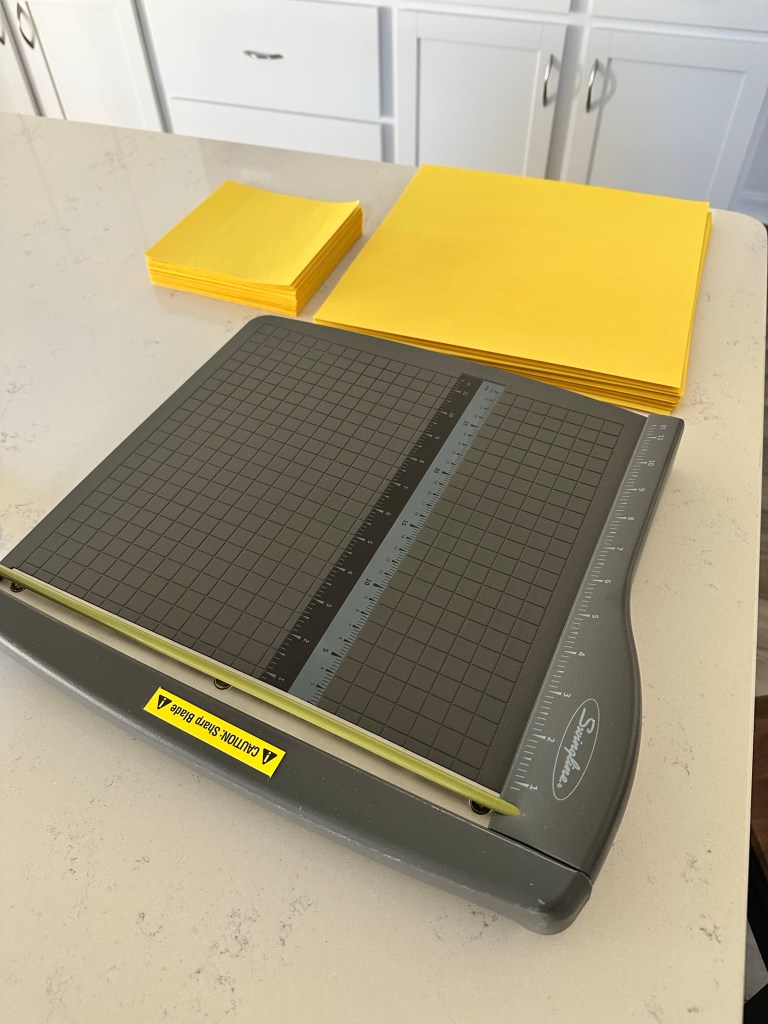
Next I cut up the yellow construction paper exactly in the same manner that I cut the brown construction paper for the brick blocks. I’m making a few less question mark blocks so I only needed to cut 60 sheets. (I cut 90 sheets for the brick blocks.)
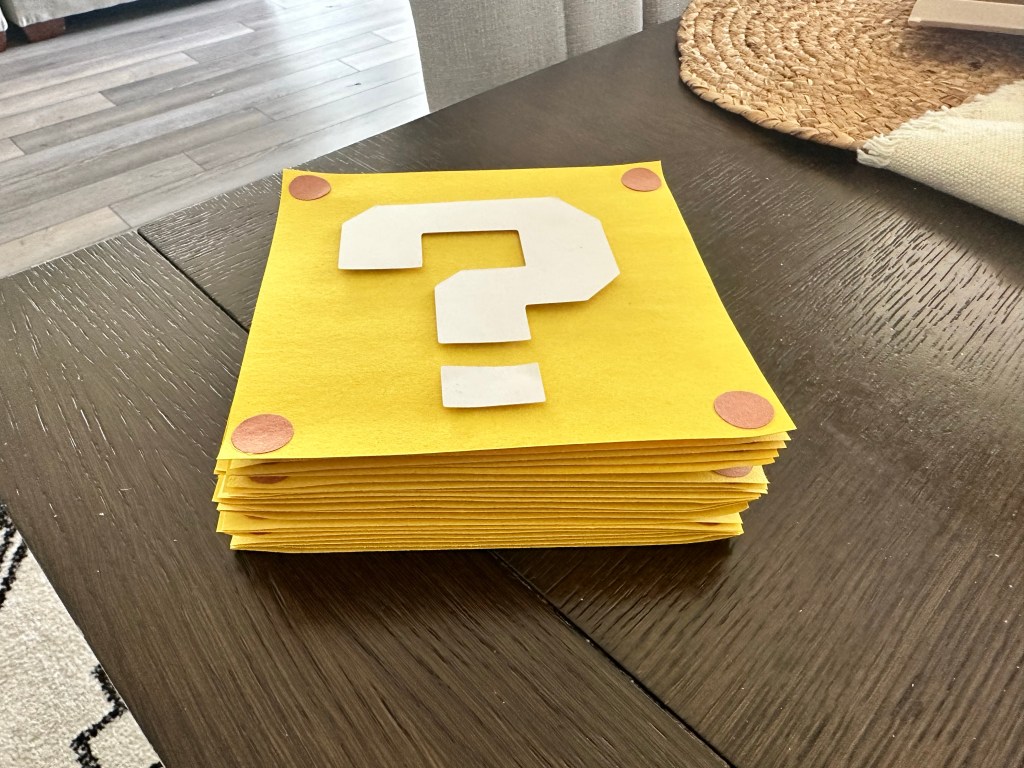
Once the paper was cut I decided to make a prototype question mark block face so I could decide the best method for assembly. I used my small circle punch to cut out 4 brown circles to serve as the bolts, and then I used white glue to stick them in the corners.
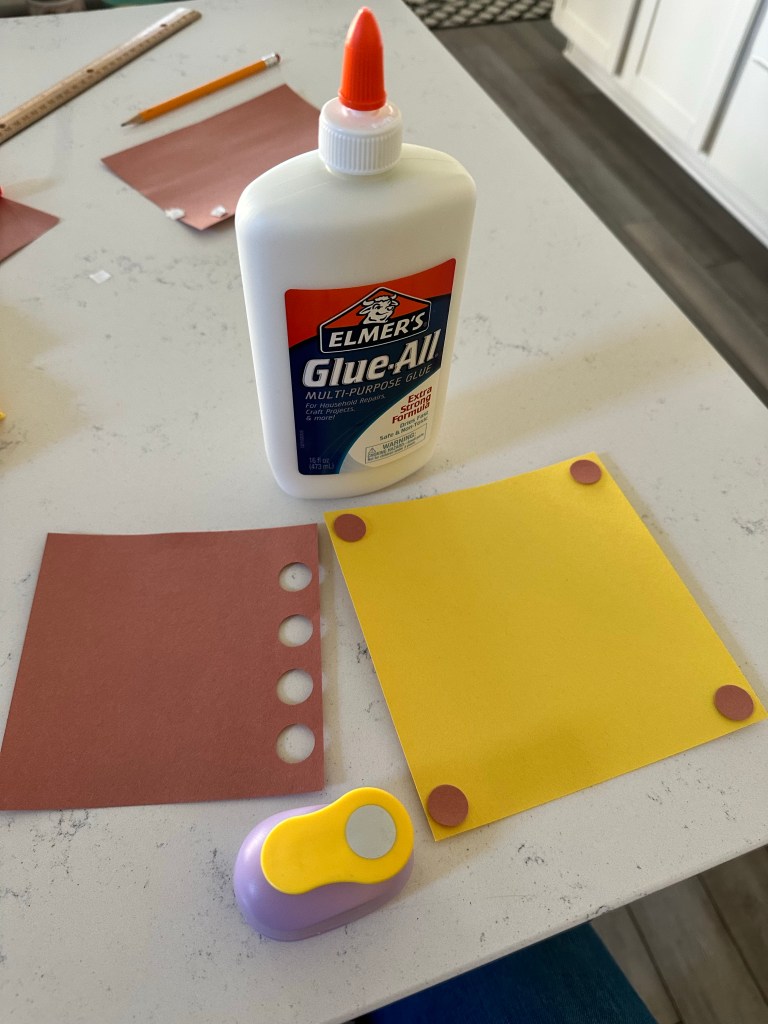
Next I used foam stickers to stick the question mark to the yellow paper. I decided to use foam stickers so that the question mark would look 3D and have a bit of a shadow instead of being flat against the paper.
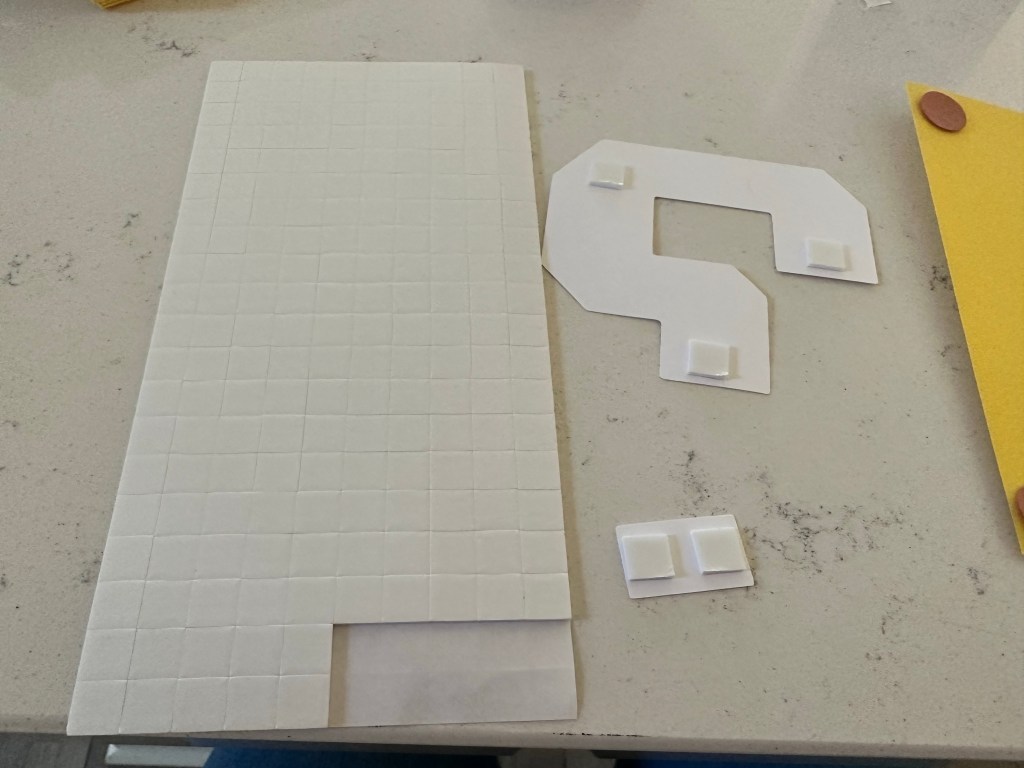
5 foam stickers seemed to be enough for a small question mark.

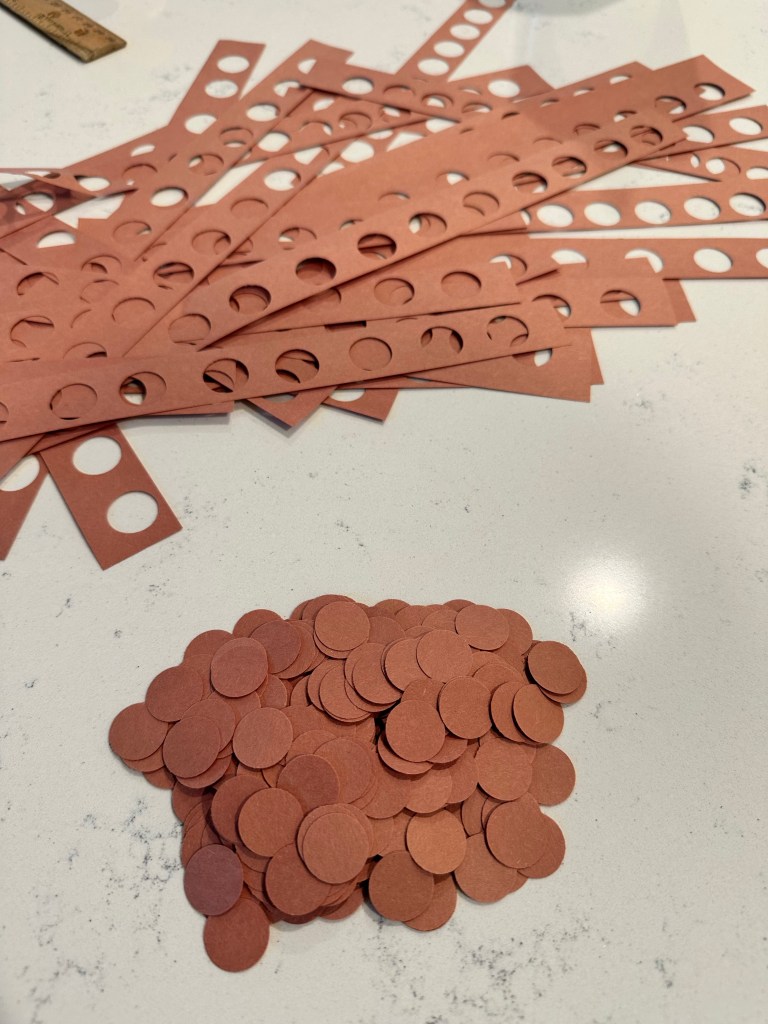
Even though the bolts are a little on the large size, proportionally, I’m just going with it because I don’t have a smaller circle punch. Once I decided I was happy with the prototype, I went ahead and punched out 320 brown circles (80 question marks x 4 bolts = 320). I made a few extra as well to be safe.
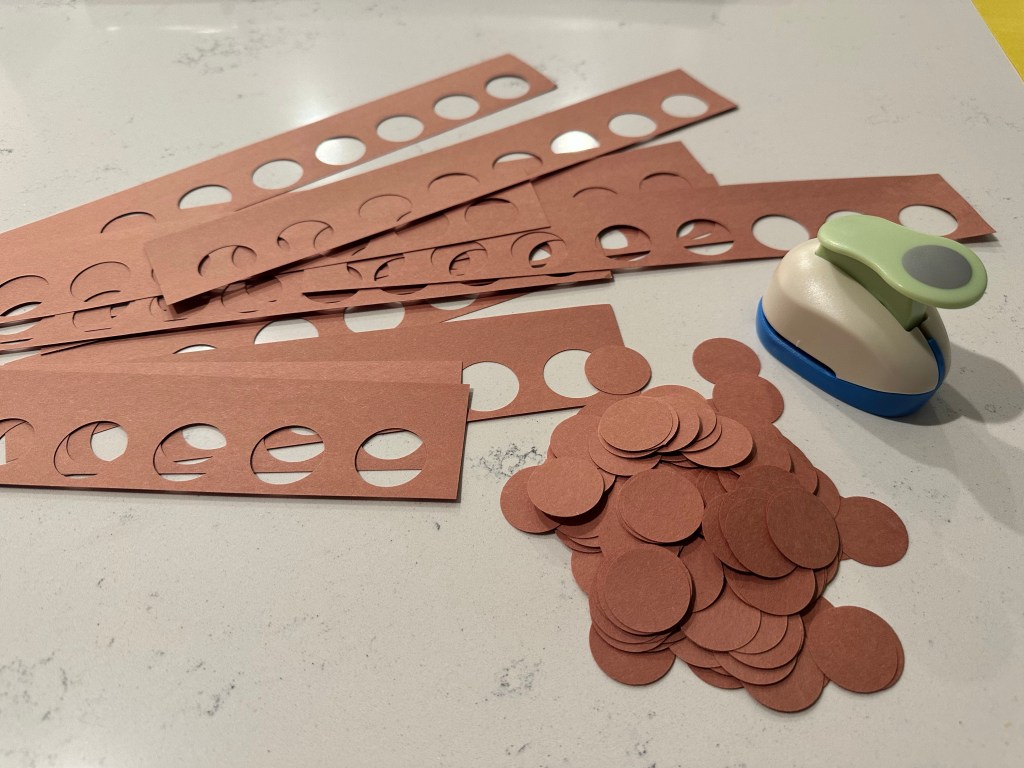
I found that the best way to do this was to use my paper trimmer to cut the brown paper into 1 inch wide strips, then I just ran the circle punch quickly down the paper. It only took about 5 minutes to punch out all the circles.

After completing only 2 out of 80 question mark squares, I decided to save the rest of the assembly for another day. My materials are cut, sorted, and ready to go. It was time to move onto the larger blocks.
Only 1 large question mark can fit on each sheet of card stock, and I need 40 question marks to make 10 large blocks. This meant feeding 40 sheets into the Cricut one by one. A little tedious, but sooooo much less tedious than cutting them out by hand. It took about an hour to get all 40 finished.

Next, I basically repeated the process of cutting out circles, except I used the next size up of circle punch. Instead of cutting 1 inch wide strips, I cut them 2 inches wide to accommodate the larger punch. For 40 block sides, I needed 160 bolts (and again cut a few extra to be safe).
The larger question marks unfortunately need quite a bit more foam stickers. Sticking the foam stickers on is very simple. What stinks is having to peel the backing off of them. Out of this entire process, I think that peeling the foam sticker backings off is going to be the worst part and take the most time. 11 stickers per question mark x 40 question marks = peeling off 440 sticker backs. And that’s just for the large ones!

Once again, I only assembled 2 squares, and will save further assembly for another day.
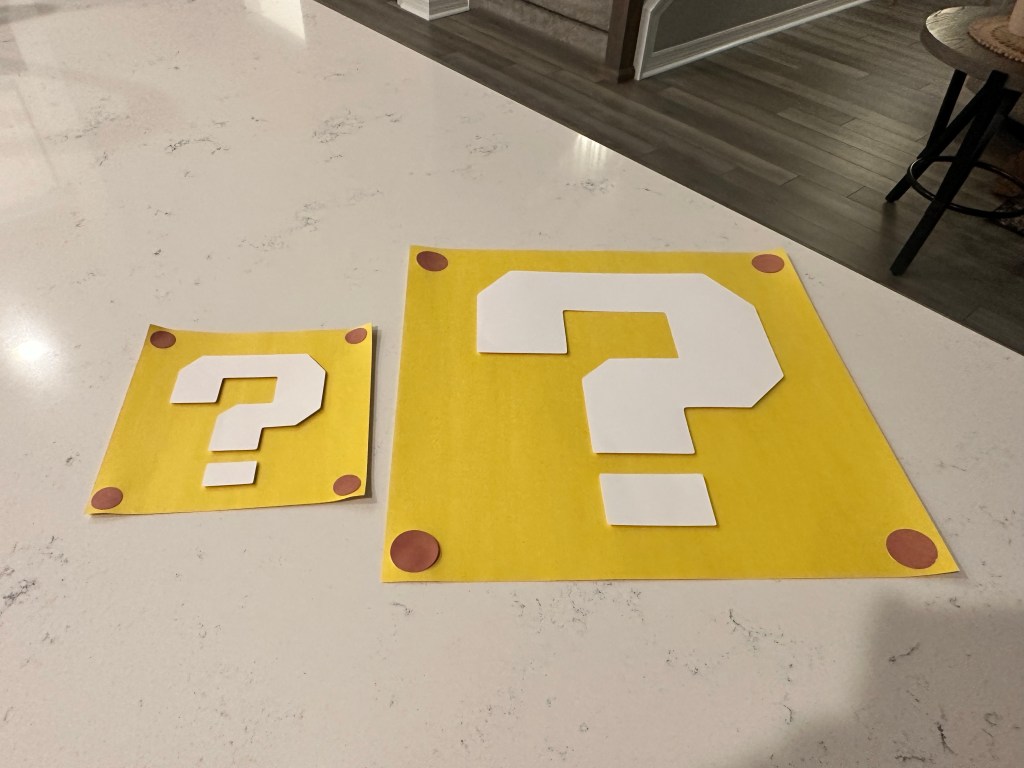
This is how the small (6”) block face looks next to the large (12”) block face.
It’s going to be quite a job to get these all assembled, but as long as I finish by the end of the week, I should be in really good shape to begin working on the characters next week.
I have thrown around a lot of numbers regarding these blocks. Here’s a summary to make it easier to understand.
(15) BROWN BRICK BLOCKS – LARGE SIZE (12”)
*Each brick has 6 sides. 4 sides are “pattern A”. 2 sides (the top and bottom) are “pattern B”.
*Pattern A: 15 bricks x 4 sides = 60 squares
*Pattern B: 15 bricks x 2 sides = 30 squares
(30) BROWN BRICK BLOCKS – SMALL SIZE (6”)
*Each brick has 6 sides. 4 sides are “pattern A”. 2 sides (the top and bottom) are “pattern B”.
*Pattern A: 30 bricks x 4 sides = 120 squares
*Pattern B: 30 bricks x 2 sides = 60 squares
(10) YELLOW QUESTION BLOCKS – LARGE SIZE (12”)
*Each brick has 6 sides. 4 sides have question marks with 4 bolts. 2 sides (the top and bottom) are plain yellow.
*Question mark sides: 10 bricks x 4 sides = 40 yellow squares, 40 question marks, and 160 bolts.
*Plain yellow sides: 10 bricks x 2 sides = 20 yellow squares.
(20) YELLOW QUESTION BLOCKS – SMALL SIZE (6”)
*Each brick has 6 sides. 4 sides have question marks with 4 bolts. 2 sides (the top and bottom) are plain yellow.
*Question mark sides: 20 bricks x 4 sides = 80 yellow squares, 80 question marks, and 320 bolts.
*Plain yellow sides: 20 bricks x 2 sides = 40 yellow squares.
SUMMARY:
25 large size blocks (15 brick, 10 question)
50 small size blocks (30 brick, 20 question)


Leave a comment